

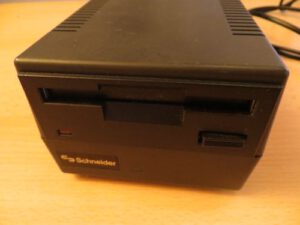
![DDI-1 Interface [Schneider CPC]](https://www.jungsi.de/blog/wp-content/uploads/ddi-1-vorderseite.jpg)
The first computer in the Schneider CPC series, the CPC464, had only an internal cassette drive. Whilst this was practical and cost-effective, it was also rather slow. For this reason, the Schneider DDI-1 was introduced in 1985. To be more precise, the DDI-1 is a combination of an interface and a floppy disk drive. A system disk was always included in the package – with CP/M on side A and Dr. LOGO on side B. The floppy disk drive, the FD-1, could later also be purchased as an additional drive for the CPC664 and CPC6128. The FD-1 is therefore a ‘dumb’ drive that only works with a suitable controller.
The FD-1 has its own power supply and, together with the DDI-1, also supplies the latter with power. Similar to the internal drives of the CPC664 and CPC6128, the FD-1 is a 3-inch drive with only one read/write head, which means that only one side of the floppy disk can be written to or read at a time. It has a capacity of 180 KB, and the floppy disks can be flipped over to use both sides.
The floppy disk drives were configured to respond to both drive select lines, A: and B:. The cable determined which drive functioned as A: and which as B:. On the CPC664 and CPC6128 models, DRIVE SELECT 0 was not connected to the external connector, meaning that external drives could only be set up as B:.
On the DDI-1, DRIVE SELECT 0 was connected only to the last connector on the cable, whilst the inner connector was connected exclusively to DRIVE SELECT 1. Consequently, the drive at the end of the cable was always drive A:, and the other drive was always B:.
The most common fault I’ve encountered with drives was a broken drive belt – even when they still looked intact. However, these are easy to source on eBay. On one of my drives, the read/write head was misaligned, but I managed to fix it after a bit of fiddling around. As the internal drives and the DDI-1 are identical, here is a useful link with tips in English on the subject of drives:
Servicing the Amstrad CPC6128 Disk Drive
Notes/Tips
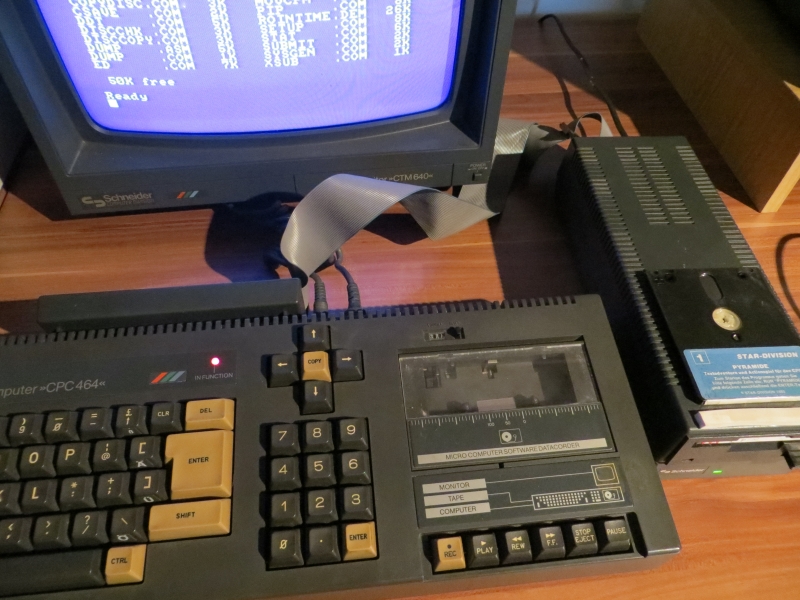
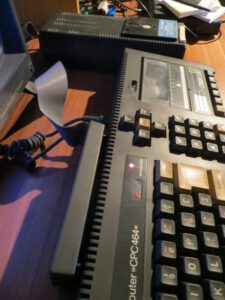
Once the interface is connected to the CPC464, all commands previously intended for the cassette drive now apply to the floppy disk drive.
– load “filename”
– run “filename”
– save “filename”
To switch between cassette and floppy disk, use the command |tape for the cassette and |disc to return to the floppy disk.
Formatting a floppy disk
Unfortunately, the process is a bit cumbersome, as you always need the CP/M floppy disk supplied with the system. This must be inserted into drive A and then started with |CPM. This transfers control from AMSDOS to the CP/M operating system. Then simply enter the command format and follow the on-screen instructions. To exit CP/M, type amsdos. Note that the format command saves CP/M to tracks 0 and 1, which wastes space. Therefore, for AMSDOS floppy disks, the command format d should be used to utilise tracks 0 and 1 as well.
Copy
– Individual files:
If you have a single floppy disk drive, first load the programme, change the disk, and then save it again. If you have two floppy drives, you can also do it this way:
|b
load “filename”
|a
save “filename”
– Copying from cassette to floppy disk:
Insert cassette
|tape.in
load “”
Once the program has loaded
save “filename”
Protected files cannot be copied this way – a Multiface is required for this.
– Copying entire floppy disks
* with one drive:
Insert the CP/M floppy disk and
|CPM
then
disccopy
Then follow the instructions
* with two drives:
Insert the CP/M disk and
|CPM
then
copydisc
and again follow the instructions
The last option also allows you to make a copy of the CP/M disk itself.
In CP/M, the command `em`filecopy can be used, amongst other things, to copy files, and wildcards are supported here. All CP/M commands can be cancelled using CTRL+C.
![Heart Of Salamanderland [Schneider CPC]](https://www.jungsi.de/blog/wp-content/uploads/The-Heart-Of-Salamanderland-Ladescreen-480x300.webp)
![Schneider CPC464 [Schneider]](https://www.jungsi.de/blog/wp-content/uploads/Schneider-CPC464-oben.jpg)
![Athanor II [Schneider CPC]](https://www.jungsi.de/blog/wp-content/uploads/Athanor-II-Ladescreen-480x300.jpg)
Moin,
bei meinem Laufwerk gibt es das Problem, dass der Lesekopf zu wenig Druck auf die Scheibe hat und deshalb einen No Disc error hervorruft. Wenn man mit dem Finger drauf drückt, geht es. Aber das ist ja auch keine Lösung.
Was kann ich da machen?
Hallo,
leider kann ich das nicht genau sagen. Ich hatte damals den Riemen gewechselt und dann viel an den Schrauben im Laufwerk rumgedreht
bis es wieder funktioniert hat. Kann auch Zufall gewesen sein. Evt. hilft hier etwas:
https://www.richardloxley.com/2017/02/01/repairing-amstrad-cpc-disk-drives/
https://www.dataserve-retro.co.uk/contents/en-uk/d70.html
Viele Grüße
Gerhard