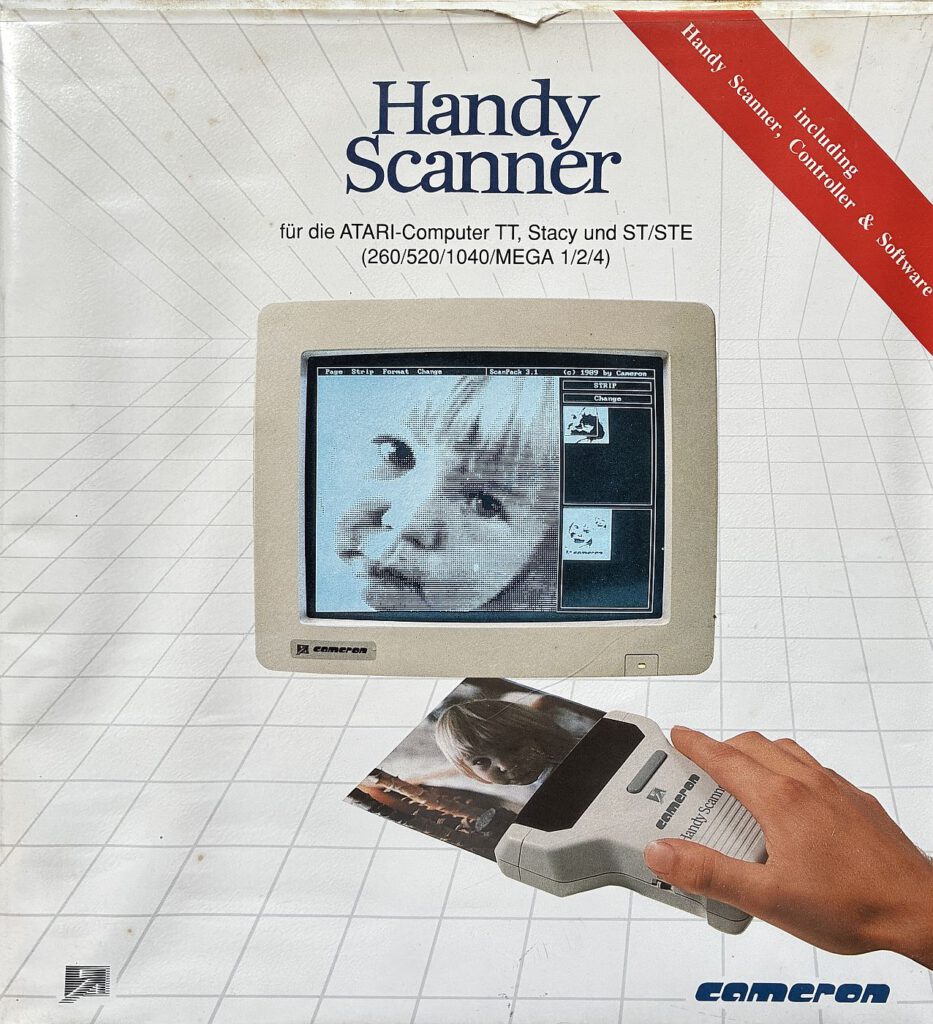
![Handy Scanner von Cameron [Atari ST]](https://www.jungsi.de/blog/wp-content/uploads/Cameron-Handy-Scanner-Scanner-Oberseite.jpg)
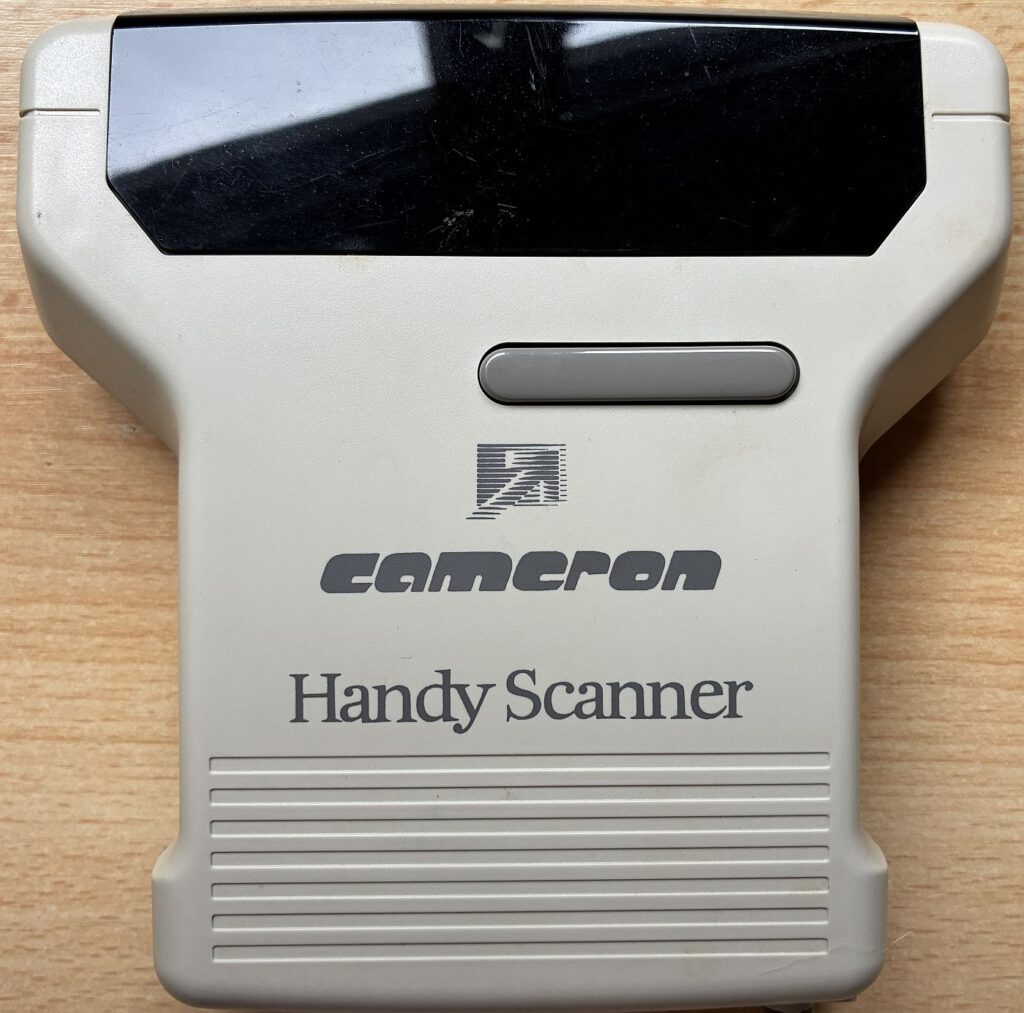
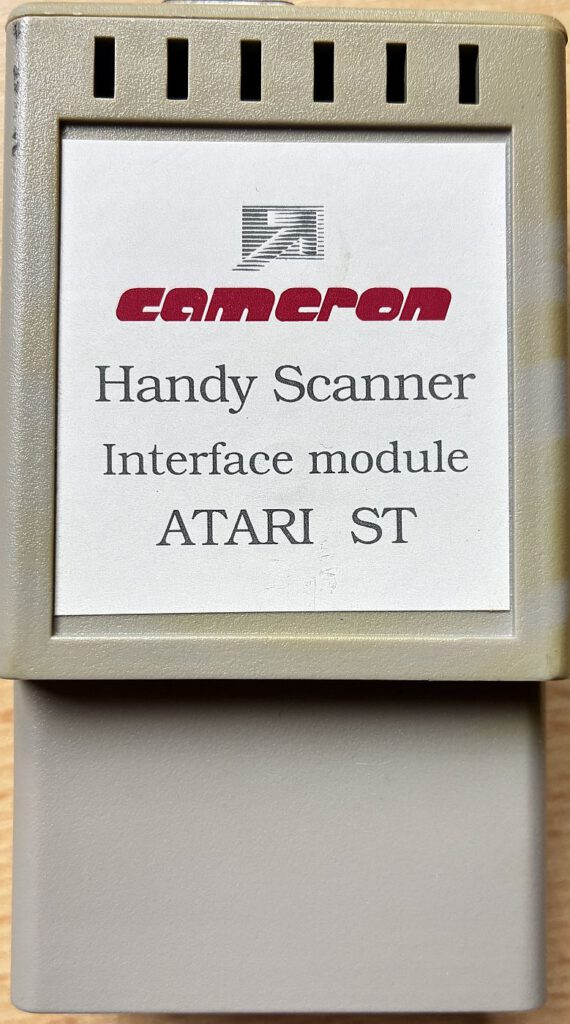
The Cameron ‘Handy Scanner’ for the Atari ST – a look at the technology, practical use and manufacturer
Anyone who wanted to digitise graphics, logos or snippets of text using an Atari ST in the late 1980s or early 1990s would have found it hard to do without the Cameron Handy Scanner. This handheld device was compact, quick to set up and came with its own ST interface and power supply. In this post, I’ve compiled the key technical specifications, model variants, tips for use – and who or what ‘Cameron’ actually was.
Model variants and technical specifications
Cameron offered the mobile phone scanner in several versions, which differed mainly in terms of resolution, scan width and colour capabilities:
- Type 2 / Type 3 / Type 4
Earlier, narrower versions (scan width approx. 64 mm) with 200 dpi (Type 2/3) or up to 400 dpi (Type 4). Depending on the software, Types 3 and 4 could capture 16 grey levels using dithering; Type 2 was purely monochrome. - Type 10 / Type 10/II
Type 10 was the colour version (e.g. logos/illustrations) with a lower optical resolution. Type 10/II clearly focused on sharpness: up to 400 dpi optical at 105 mm scan width, status LED and scan button directly on the device – ideal for clean line drawings, magazine columns and technical illustrations.
- Type 14 (Grey)
Top-of-the-range greyscale model (105 mm wide) with 400 dpi and selectable bit depth (1/4/8 bits depending on the software), designed for smoother transitions in photos and greyscale images.
Depending on the system, the package included an interface module (typically the cartridge port adapter on the ST), a power supply and software – usually Handy-Painter (scanning and image editing) and Handy-Reader (OCR).
Background: Publication date & prices (1988)
The arrival of the Cameron handheld scanner in the ST world is well documented: in ST-Magazin 04/1988 (published on 20 March 1988), the device was reviewed in the ST test lab. At the time, there were two versions – black and white and 16-level greyscale – with a maximum scanning width of 64 mm. The list prices at launch were 798 DM (black and white) and 898 DM (greyscale). In the following years, wider and higher-resolution variants appeared (including 105 mm/400 dpi, as with the Type 10/II), and market prices fell depending on the model and retailer.
(Note for collectors: For your Type 10/II, the DM prices listed above serve as a good historical reference point for the early 64 mm generation; later 105 mm models often appear in price lists and advertisements at lower prices – in some cases significantly below the original 1988 prices.)
Connecting to the Atari ST: Interface & Power Supply
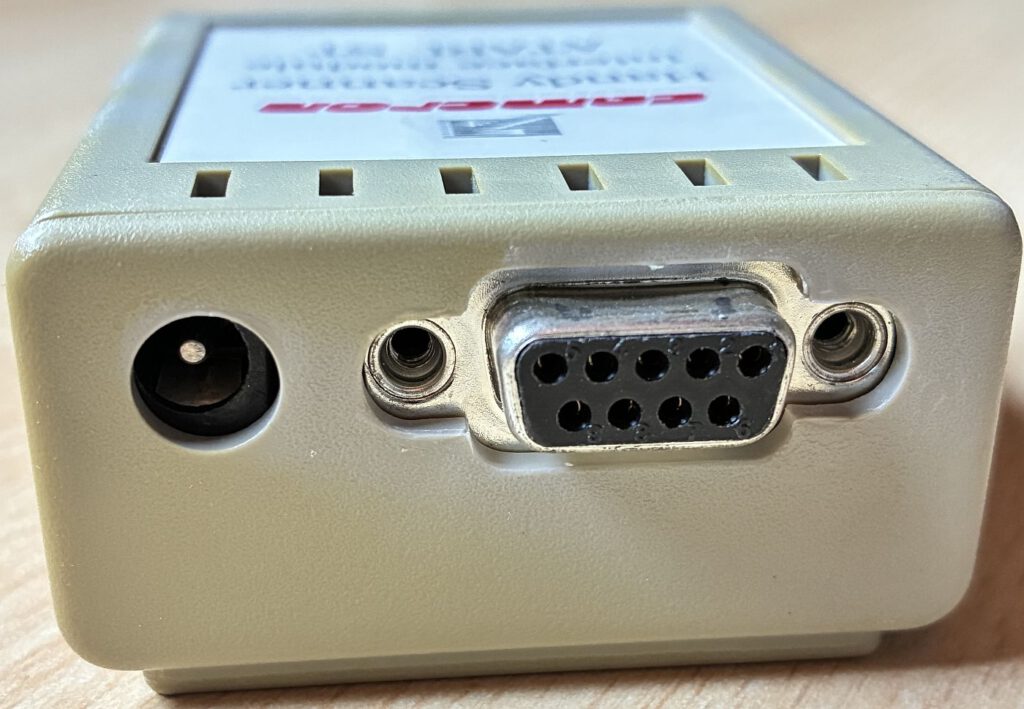
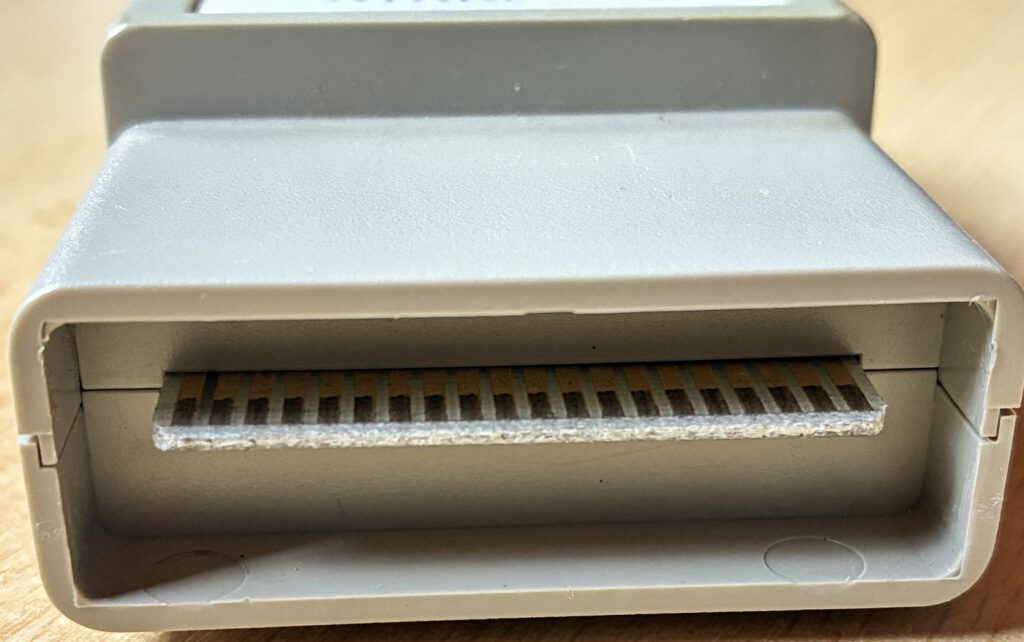
The mobile phone scanner for the ST uses a dedicated interface on the cartridge port. The scanner is connected to the interface via a round multi-pin socket; power is supplied via a separate power supply unit. Quick installation guide: Switch off the ST → Insert the interface into the cartridge slot → Connect the scanner → Connect the power supply unit to the interface → Switch on the ST → Start the software.
Note: Cameron offered platform-specific interfaces (Atari cartridge, Amiga Side/Zorro, PC ISA); the core scanning unit remained essentially the same.
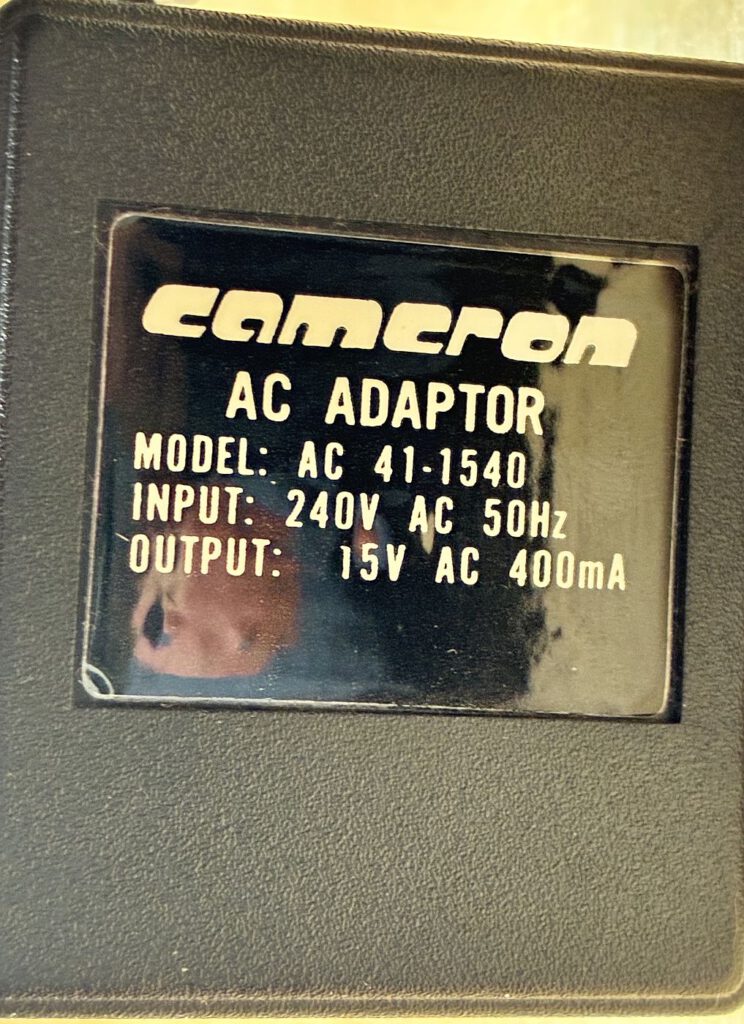
Power is supplied via an external 15 V/400 mA power supply with centre-positive polarity, which is plugged into the interface.

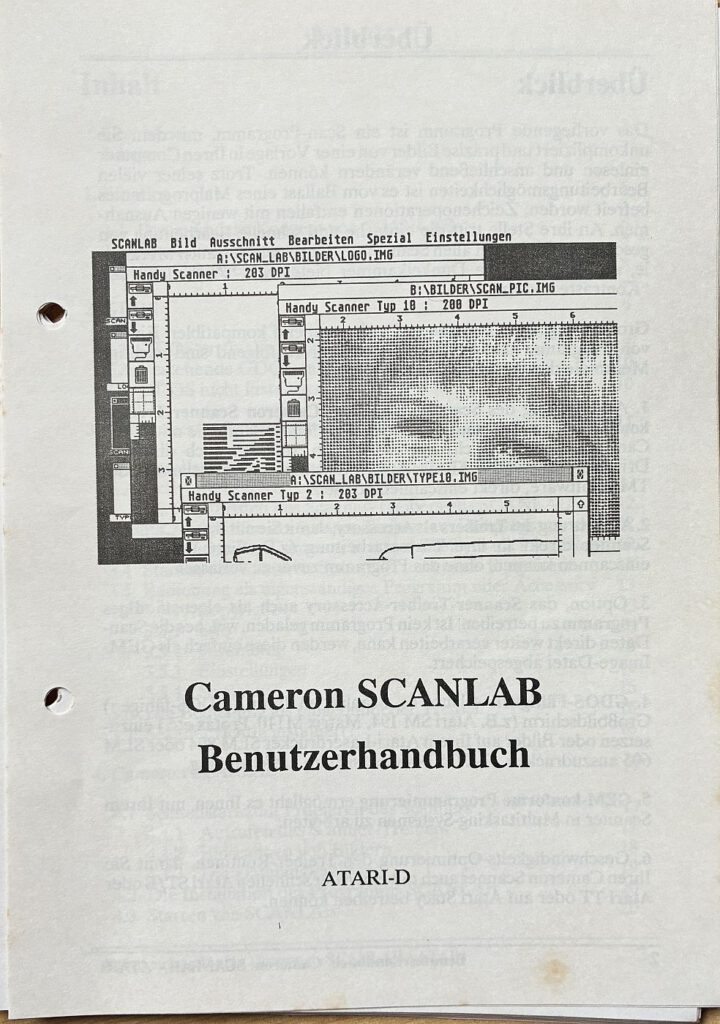
Software & File Formats
- Handy-Painter: Central scanning and editing tool (cropping, thresholding, dithering, brightness/contrast; exports as IMG, PI1/PI3, NEO; supports formats like TIFF/PCX for subsequent exchange on a PC).
- Handy-Reader (OCR): Text recognition for DTP workflows (1st Word+, Signum!, etc.).
- Additional Tools: Depending on the package, these include ScanDrive/ScanLab for alternative workflows/drivers.
Image Quality in Practice
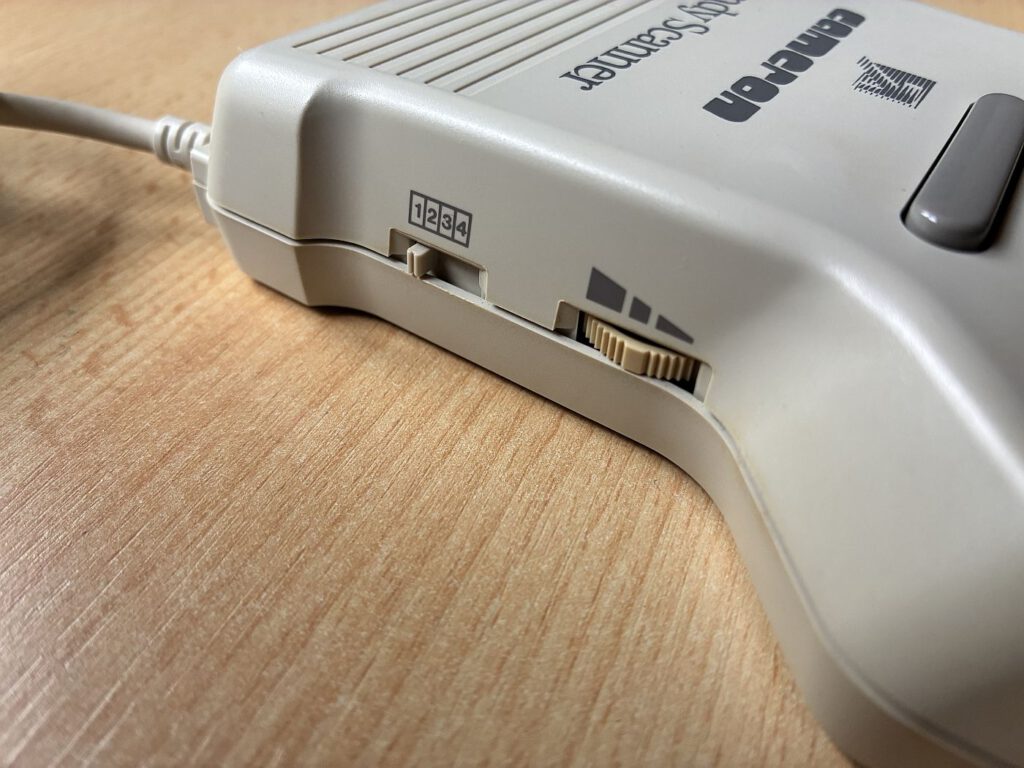
- Guidance & Speed: Handheld scanners require smooth, steady guidance. Jerky movements result in "wobble" (skew distortion).
- Resolution & Width: Logos/line art typically 200–300 dpi, fine details 400 dpi; 105 mm models (Type 10/II, Type 14) are significantly more versatile than the 64 mm variants.
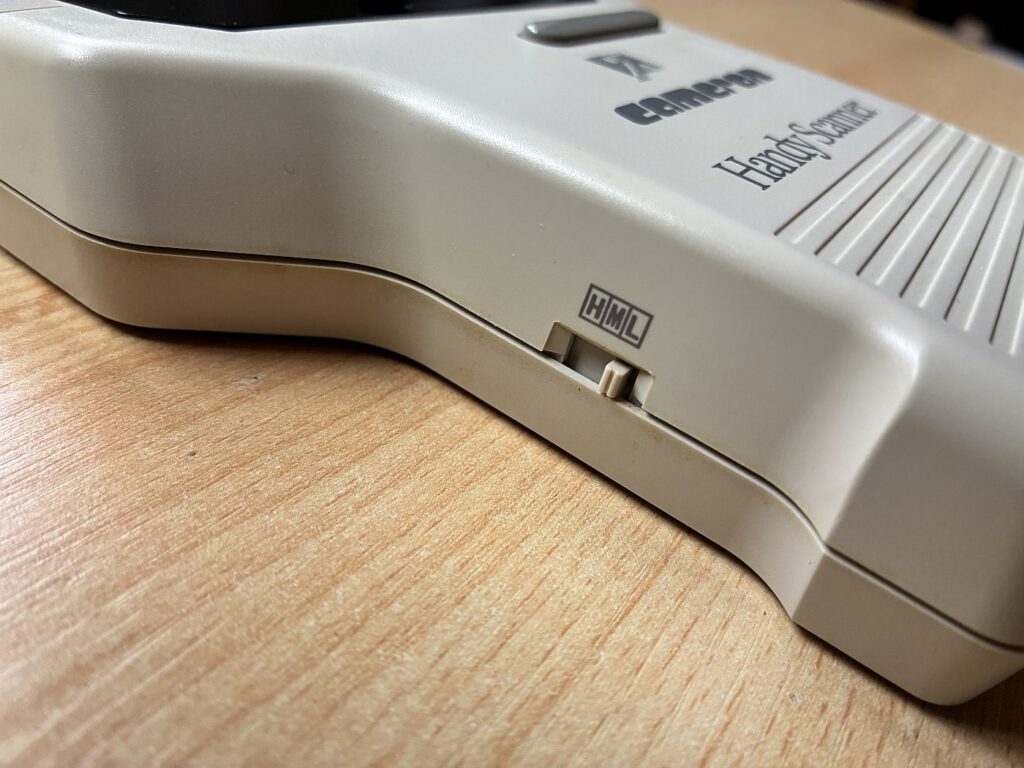
- Grayscale & Color: Type 14** delivers finer gradations; **Type 10** is the option for **color** (albeit with lower DPI).
- Paper & Halftoning: For magazine paper, enable **Dithering** and, if necessary, apply a slight blur to mitigate moiré patterns.
Workflow Tips for the Atari ST
- Secure the Template: Place the paper flat on a hard surface (use tape or a guide strip).
- Overlap & Stitching: Scan large motifs in strips, then assemble them using the software.
- OCR Accuracy: Scan in high contrast, use clear print; post-process the result.
- Export & Sharing: For sharing on a PC, convert formats commonly used on the ST (IMG/PI1/PI3).
Durability & Spare Parts
Mechanically robust, but the rubber rollers/belts do deteriorate with age. Interfaces tend to discolor over time (the signature Atari "mouse gray" often turns yellowish). Complete sets—including manuals and original boxes—regularly appear on the secondary market, sometimes even bundled with PC ISA controller cards or Amiga interfaces.
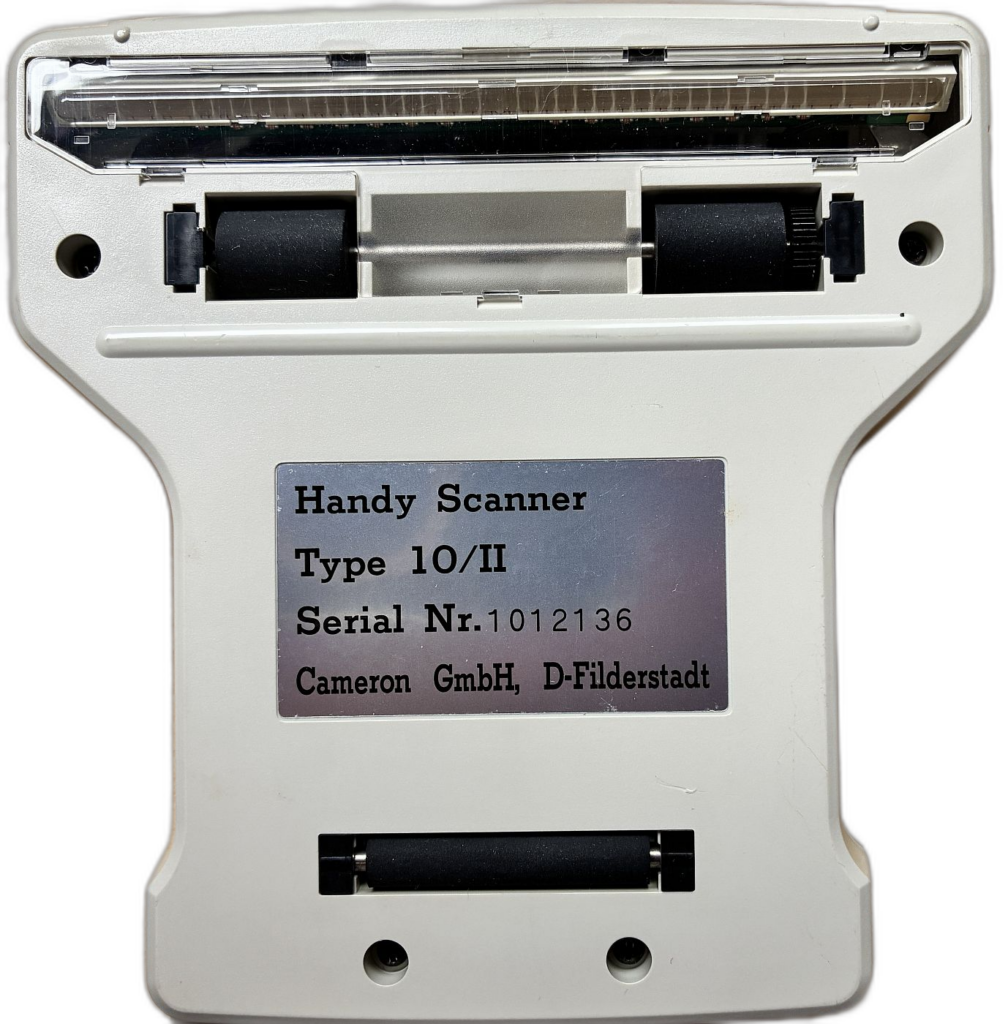
My Copy (Collection Data)
- Model: Cameron Handy Scanner Type 10/II
- System: Atari ST (incl. Power Supply and Cartridge Port Interface)
- Software: Copy of **Handy-Painter** (Original disks **not** available)
- Dokumentation:
- Handbuch „Handy-Reader“ Version 3.0
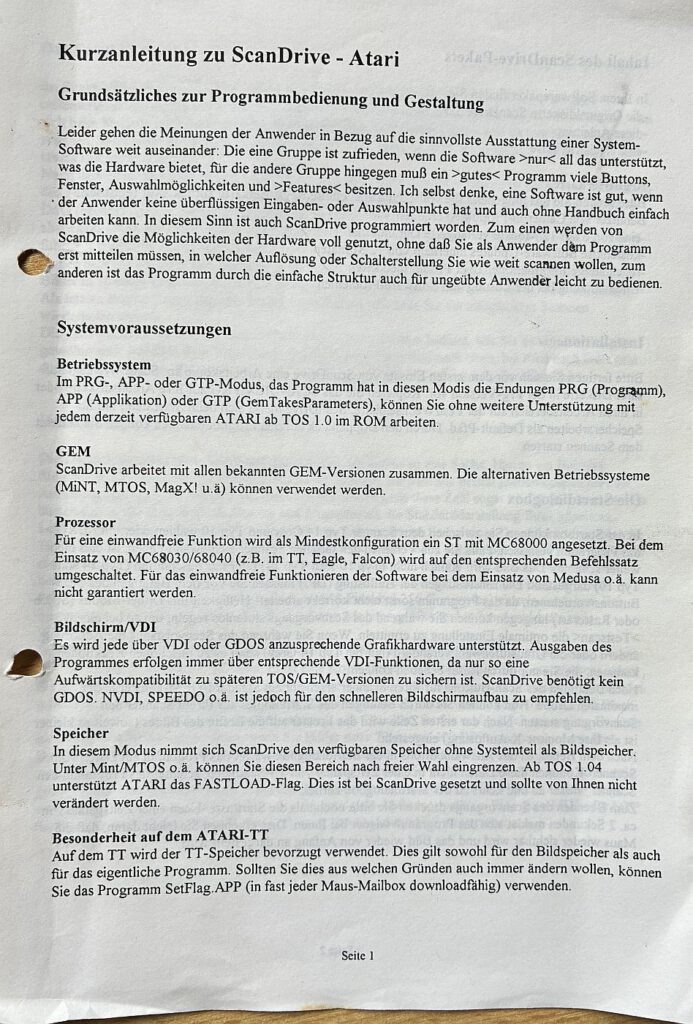
- Kurzanleitung zu „ScanDrive“
- „Cameron Handy Scanner“ Benutzerhandbuch
- „Cameron ScanLab“ Benutzerhandbuch
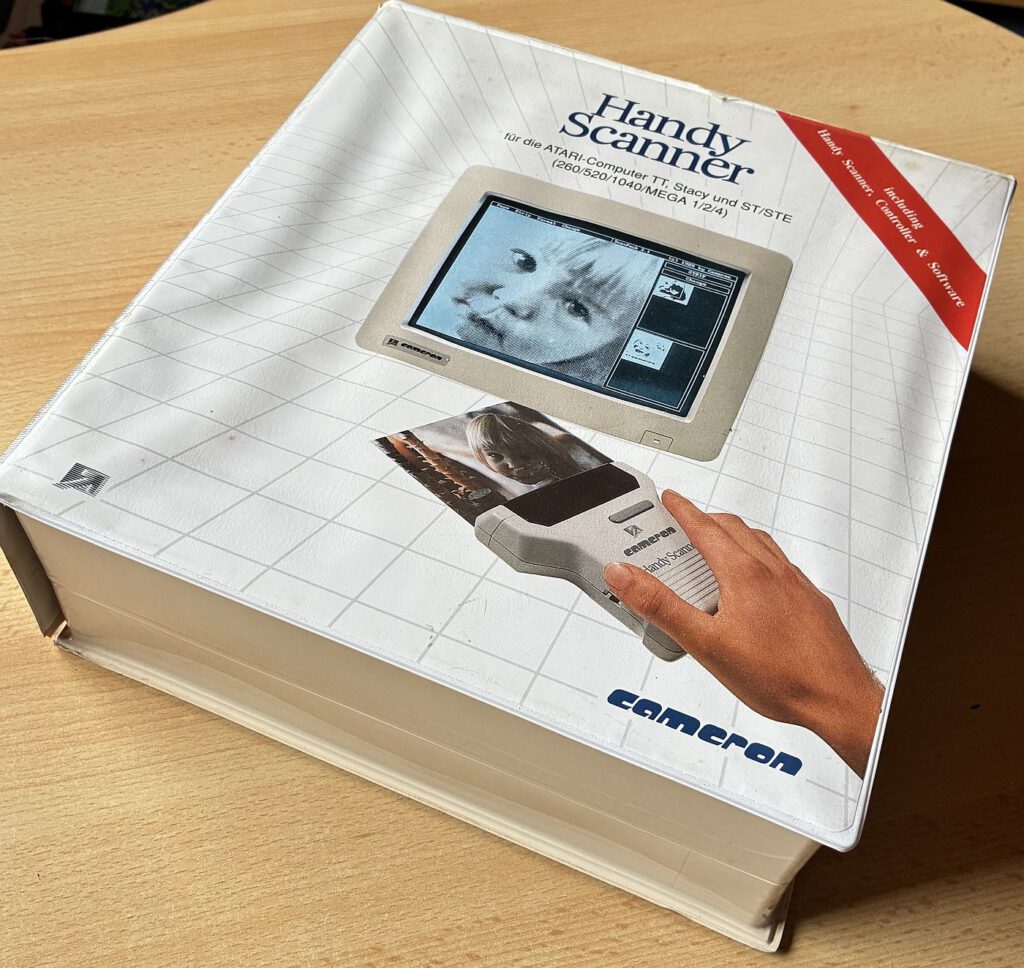
- Packaging: Original packaging, very large – 28 cm × 30 cm × 10 cm
- Interface Condition: Typical age-related discoloration matching the Atari housing color.
- Usage: For line art/logos, I typically use 300–400 dpi; for magazine pages, dithering helps prevent halftone patterns or moiré effects. For continuous columns, I scan in 2–3 passes and stitch them together using software.
Who was behind Cameron?
Around 1990–1992, Cameron (Filderstadt, Germany) emerged as a provider of handheld scanners and platform-specific interfaces (Atari/Amiga/PC), complete with its own proprietary software (Handy-Painter, Handy-Reader, ScanDrive/ScanLab). The product line was clearly targeted at DTP and graphics workflows within the desktop publishing environment of the 16-bit systems prevalent at the time.
Current Usage: Tracking Down Drivers and Software
Drivers and manuals can be found in archives and forums (often in German), including ST installation chapters. Anyone who finds a scanner missing its floppy disks can thus put Handy-Painter/Reader back to use and utilize the hardware to its full potential.
Conclusion
Back in the ST era, the Cameron Handy Scanner bridged the gap between "quickly digitizing something on the fly" and stationary flatbed scanners. The 105 mm models with 400 dpi—above all the Type 10/II—are of particular interest to collectors: with a steady hand, they deliver surprisingly clean results and integrate well into DTP workflows. With the right tools (Handy-Painter/ScanLab) and a little practice in guiding the scanner, it is still possible today to produce surprisingly usable scans.
Sources and Further Links (Selection):
- Amiga Hardware Database – Cameron Handy Scanner: Variants, Specifications, Photos (also demonstrates that the same scanning unit was used for Atari and PC). amiga.resource.cx
- Manual (DE) "Cameron Handy Scanner – Type 10/Type 14 Grey" – incl. ST/TT installation chapter and connection details. amiga.resource.cx+1
- ST Press Notes (1988/89) – Brief reviews, price ranges, 16-grayscale variant, 200–400 dpi, cartridge interface. atarimagazines.com+1
- AtariAge thread (2023) – Discussions about Type 10 on the ST and Handy-Painter disk (dump). AtariAge Forums+1
- PowerScan/Matador Context – Contemporary ST hand scanner software as an alternative/fallback. Ctrl-Alt-Rees
Sources and Further Links (Price/Date & Context):
- ST-Magazin 04/1988 – “Handy-Scanner Masters Every Image: A Mouse with Sharp Eyes” (Product Profile with Price: 798 DM B&W, 898 DM Grayscale; Package Contents incl. ROM Port Interface & Power Supply; Review of the 64mm variant). stcarchiv.de
- Atari-Magazin 09/1988 & 10/1988 (Advertisements) – Price examples for the "Type 3" (approx. DM 777) illustrate the rapid decline in market prices following its introduction. 68000 ST MAGAZINE 1988
- TOS 03/1991 (Classified Ad/Price Note) – Handheld Scanner (105 mm, up to 400 dpi) for DM 468—serving as an early indicator of the significantly lower street prices that would later emerge for wider models. TOS MAGAZINE 1991
![GigaFile vs. SuperSatan-Disk – Vergleich [Atari ST]](https://www.jungsi.de/blog/wp-content/uploads/2012/12/GigaFile-vorne.jpg)
![GigaFile [Atari ST]](https://www.jungsi.de/blog/wp-content/uploads/2013/01/GigaFile-am-1040STE1.jpg)
![NetUSBee [Atari ST]](https://www.jungsi.de/blog/wp-content/uploads/2013/11/NetUSBee-6.jpg)